With the help of this article, today I will teach you in detail about how you can edit photos with the help of Pixlr photo editor application.
I will try to explain everything to you step by step.
How to download Pixlr – Photo Editor
1 ) Simply go on Google Play Store and search the Pixlr photo editor. Now install the application.
About The App :
| Application name | Pixlr – Photo Editor |
| Released On | Nov 14, 2012 |
| Version | 3.4.64 |
| Offered By | Inmagine Lab | Pixlr |
| Downloads | 50,000,000+ downloads |
| Required OS | Android 6.0 and up |
| In-app purchases | $0.99 – $11.99 per item |
Guide : How to edit your photo using Pixlr photo editor (Step By Step)
First open the application.
You will see some options on your screen.
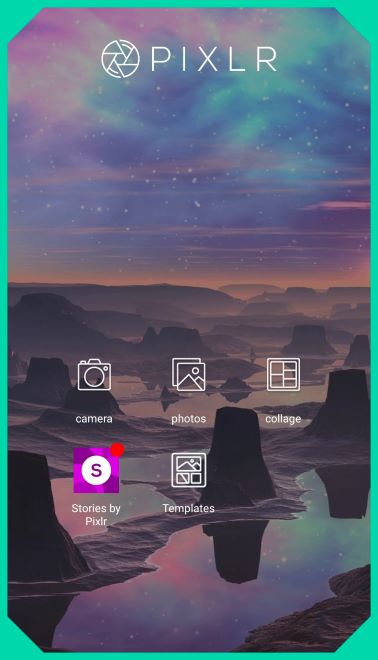
Now, You will see some options.
- Camera
- Photos
- Collage
- Templates
Now step by step learning how to use Pixlr App features.
Camera
Step 1 : Open the Pixlr photo editor app on your device.
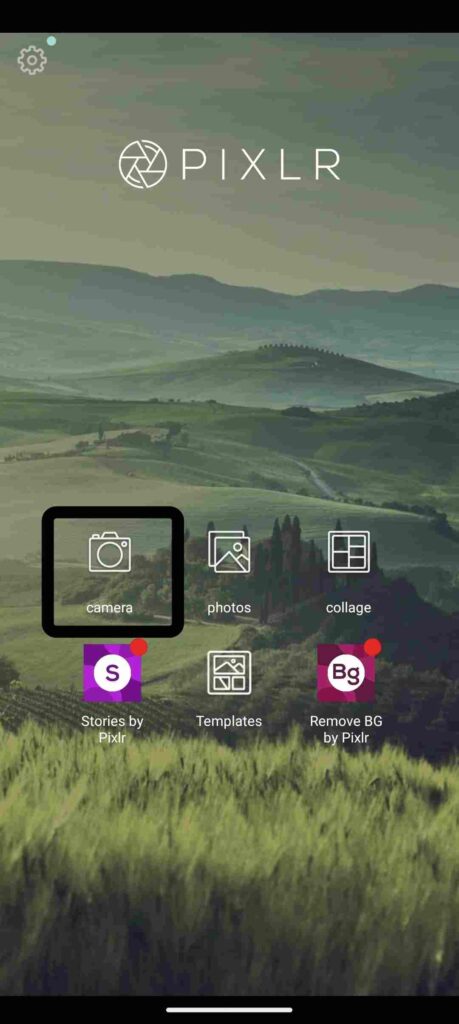
Step 2 : Now you can see the first Camera Option. Click it.
Now After that permission option will be seen on the screen. If you give permission, the camera will open.
Step 3 : Capture the Photo
you can see a live view from your device’s camera. Use the on-screen controls or buttons to adjust settings like focus, exposure, and flash (available). Now click and capture a photo.
Step 4 : Edit the Captured Photo
After capturing the photo, it will be displayed in the Pixlr editor interface. Now you can apply various editing tools and effects to enhance the photo. These tools are provided in the pixlr app. Like cropping, adjusting brightness and contrast, applying filters, adding text and much more. Use editing options and edit beautiful photos.
Photos
To use the photo editing options in Pixlr, follow these steps :
Step 1 : Open Pixlr Photo Editor App. Now you can see Photos option in your mobile screen. Click it.
Note : Photos option are popular in editing your beautiful Images.
Step 2: The file will open. Select the photo you want to edit. Now, then you will see the Pixlr photo editor interface. At the bottom side find a variety of tools. Like Tools, Brushes, Effect, Overlay, Stylize, Border, Stickers And Text.
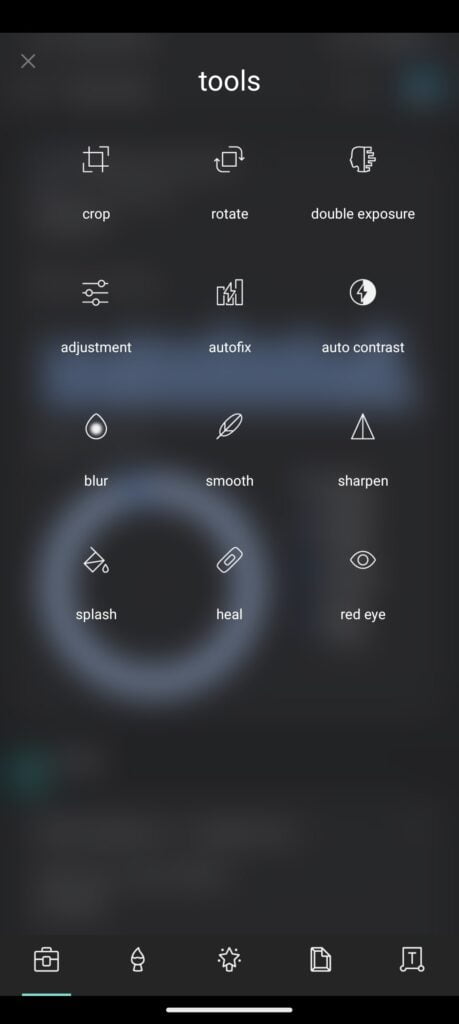
Now, show a variety of tools in tools option.
- Crop
- Rotate
- Double Exposure
- Adjustments
- Auto Fix & Auto Contrast
- Blur
- Smooth
- Sharpen
- Splash Tool
- Heal Tool
- Redeye
Crop
The first option at the bottom is Tools. Click it.
Then several crop measurements are given below. You can also use it. Now, adjust the exact size and then click on save.
Rotate
To use the rotate tool in Pixlr, follow these steps :
The first option at the bottom is Tools. Click it.
Now, you can see the rotate tool. Click on it to activate it.
Then on the bottom side you can see Straight, Horizontal, Vertical and Rotate options.
You can adjust according to your photo. And save it.
Double Exposure
This tool is used to blend two or more images stable, creating a double exposure effect. You can select multiple images and adjust their opacity or blending methods to create unique and specific interesting compositions.
Easy to use multiple images and create beautiful photos.
Adjustments
Different type effects of the image, such as brightness, contrast, saturation, exposure, and levels.
easy to use and set according to your images.
Auto Fix & Auto Contrast
Automatically improve the overall effects like adjusting brightness, contrast, and saturation.
Blur
Apply blur effects to specific areas of your photo to create a depth-of-field effect or simulate motion.
This option provides blur types like Radial, Circular, Color boost and glow.
Smooth
This tool is used to reduce noise or smooth out imperfections in your photo. It helps to create a more shining and refined look.
Sharpen
The Sharpen tool available has two options, Amount and Radius. Can be useful in enhancing the beauty and sharpness of your image.
Splash Tool
This tool can make an image black and white and selectively apply color to specific areas of your photo while keeping it in grayscale. This option is useful for creating beautiful and artistic effects.
Two options will be found inside this tool. Like Tolerance and Tint.
Heal Tool
The Heal tool is used to remove unwanted objects or blemishes from an image. It helps to absolutely fill in the selected area with the nearby pixels, making it look as if the object or blemish was never there.
Redeye
This tool is mainly used to remove the red-eye effect caused by flash photography.
Brushes
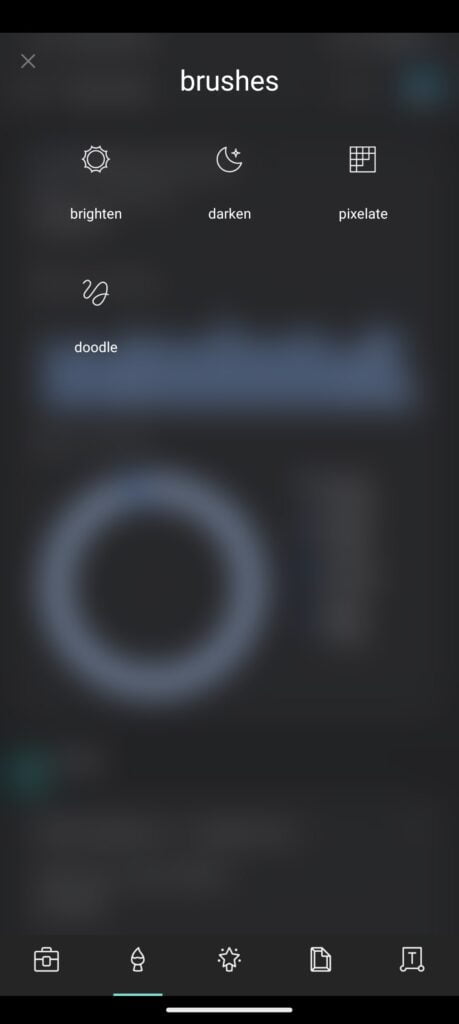
Brighten Brush
The Brighten brush is used to selectively lighten specific sections of an image. You can use it to add highlights to a specific part of a photo or bring out features in darker areas.
Pixelate Brush
The Pixelate brush is a creative tool that lets you blur certain sections of an image. It can be used on images to blur important information, add creative style or produce mosaic effects.
Darken Brush
Brighten brush contrasts with Darken brush. It is applied to an image to selectively darken certain places. It is used to reduce depth, shadows or brightness in specific areas of an image.
Doodle Brush
With the help of this tool your image can be painted or drawn freely and is quite flexible. You can use a variety of brush sizes, colors, and opacity to doodle, sketch your images. This is a fun and original way to customize your photographs.
Inside this tool you will find three options at the bottom. Like, Size, Feather and Color.
Size – increase brush size.
Feather – increase brush opacity
Color – select the brush color
Effects
Effects tool will be found next to the brush tool.
There are a number of effects available within the Pixlr app to improve the overall look of your photographs. Like Vintage, Black & White, Sepia, HDR etc.
Overlay
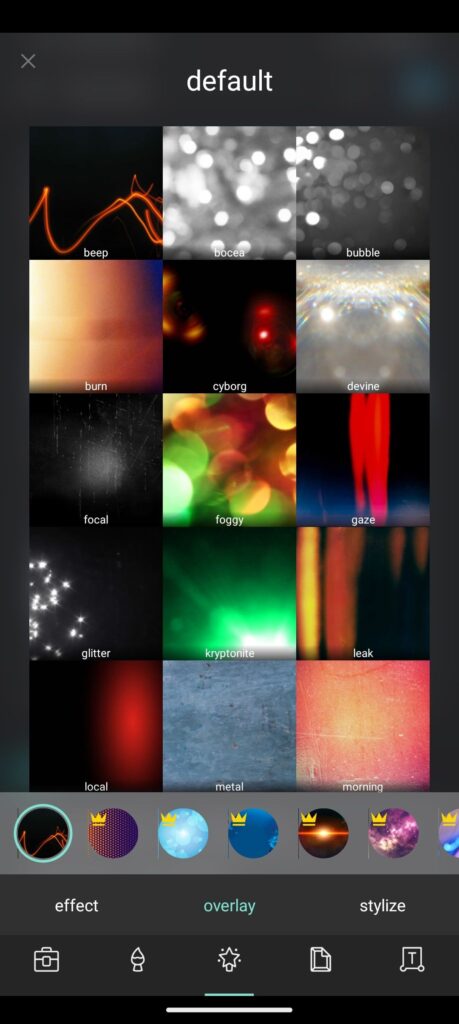
You can add extra components to your photo to create custom textures and effects. You can see Bokeh, Light Leaks, Textures etc.
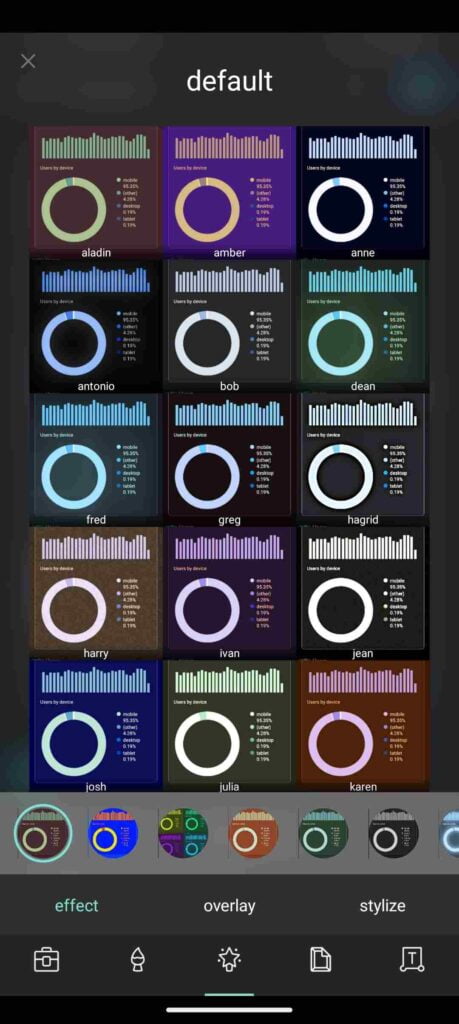
Stylize
The stylization features provided within these tools are useful for adding original artistic effects to your Images.
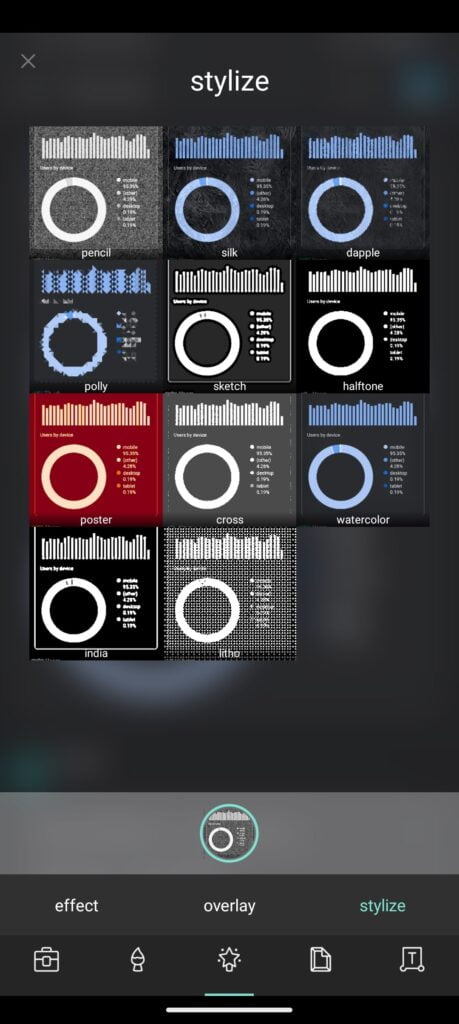
Now, with the help of overlay and stylization tools. There can be a big change in your image. To achieve the applied effect and stand out from the crowd, use different tools and settings. All tools are easy to use. Remember, Practice Makes Perfect.
Border & Stickers
Border
Lots of border options are provided to give the finishing touch to your photos.

A variety of border designs are available, including solid colors, gradients, patterns and creative borders.
You can customize the style of the border color, opacity, and thickness with the Border tool.
The border tool can be used to create a border or frame for your image.
Note : Some Border Packs are used only by Premium Users.
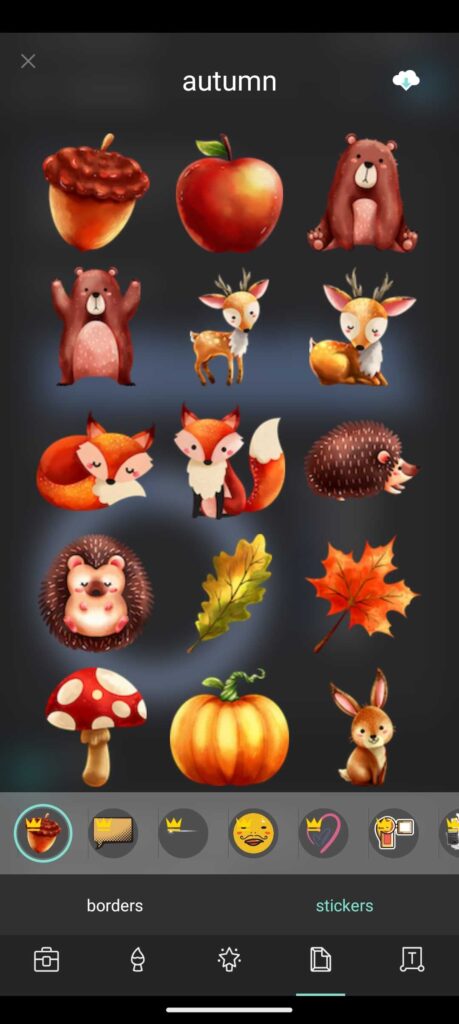
Stickers
A lot of stickers are already provided. which you can use to improve or beautify your images. It can contain elements such as numerous icons, pictures, emoticons or clip art. Stickers provide a fun way to customize your photographs and incorporate original features. You can view the sticker library within the Pixlr App. You can also upload your own favorite stickers.
Follow the steps below to learn how to use borders and stickers within the Pixlr App:
Step 1 : Find Tool: Effects tool will be found at the bottom of the photo. Border and sticker tools will be found next to them. Click it.
Step 2 : Choose the type of border you prefer to suit your photo and change its settings including thickness, color and opacity. Set a border around your image. Whatever changes you make, you can see the effect inside your photo.
Step 3 : To apply stickers, go through the selection, select a sticker you like and stick it on your image. Modify the sticker as needed in terms of size, rotation and placement.
Step 4 : If you like, continue to add more borders or stickers.
Step 5 : After you are happy with the edits, you can now save your image. Or can share it on social media platforms.
Text
The text tool is used to display text on the photo you have edited or to write quotes on the photo. Follow the steps below for how to use the text tool:
Step 1 : The “Text” tool icon will appear after the Border tool. Usually, the text letter “T” is used to represent it.
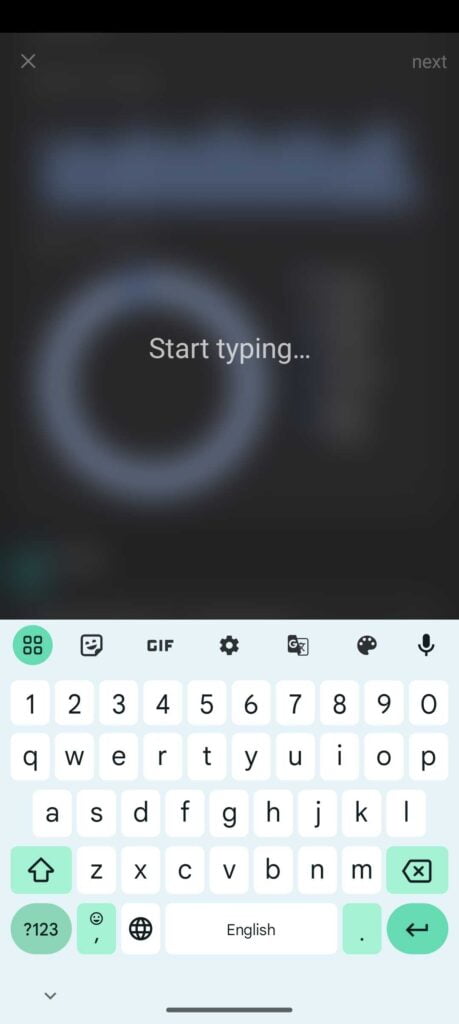
Step 2 : Your photo will display a text box. To start entering the text of your choice, click inside the text box.
Step 3 : How to make the text your own :
Font : Choose a different font of your choice from the provided fonts.
Size : Text size can be changed using the given adjustment. That is, the size can be reduced and increased.
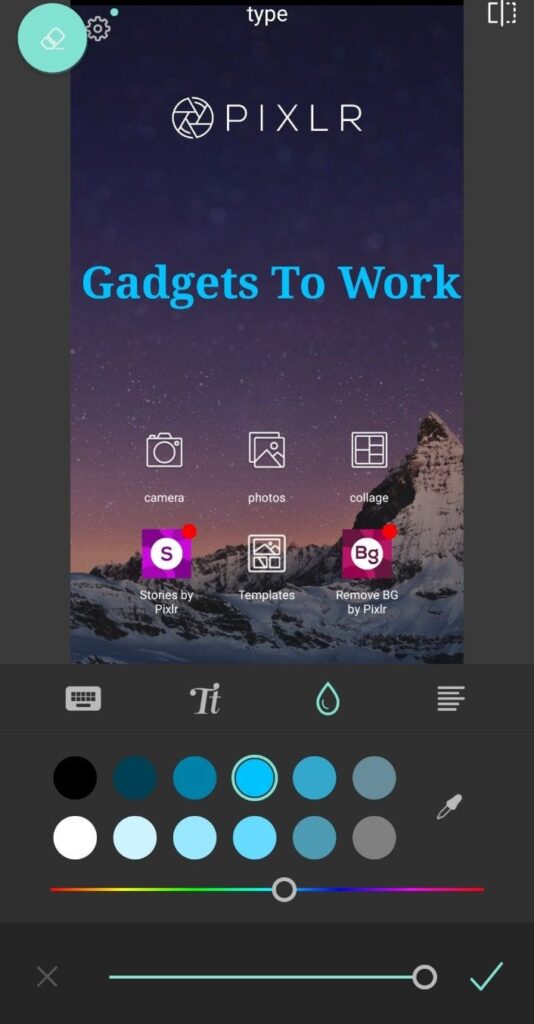
Color : To change the color of the text, click on color and select your favorite color from the given color or you can enter a specific color code and create a color.
Alignment : helps move the text inside the text box to the left, center or right.
Style : Different text effects can be used to HIghlight your text, such as bold, italic, underline or strike through.
Step 4 : Text box position and size : You can move the text box by dragging it to a new location on the image.
By clicking and dragging the corners or borders of the box, you can resize the text box.
Step 5 : Make other changes :
Opacity : Use this option Opacity slider to change the transparency of the text.
Step 6 : When you have arranged and customized the text as desired then click on save option. Then you can save the photo in the gallery.
Now, save your photo share on social media platforms and show your creativity. Keep Enjoy & Thank You.
Conclusion
A powerful program with various editing tools and functions is Pixlr Photo Editor. Apply filters, crop, change brightness and contrast, add text and more. Explore tools for creativity like text, borders, stickers, effects, overlays and double exposure. Both beginners and professional photographers can use the app’s user-friendly platform. Pixlr Photo Editor is a free app, with an easy way to upgrade to the premium version.Mobile devices have the ability to easily edit photos.
Let us know if you find any kind of error inside the software or mobile app. We will try to help you as much as possible. Tell your question inside the comment box.
Frequency Ask Questions
Is Pixlr Photo Editor free to use?
Yes, Pixlr Photo Editor offers a free version with access to a wide range of editing tools. A premium version with advanced features is also available.
Can I use Pixlr Photo Editor on my mobile device?
Yes, Pixlr Photo Editor is available as a mobile app for both iOS and Android devices.
Can I undo or revert the changes made to my photo?
Yes, Pixlr Photo Editor allows you to undo and redo changes, as well as revert back to the original image.
Can I save my edited photos in high resolution?
Yes, you can save your edited photos in high resolution with customizable image quality and format options.
Yes, Pixlr Photo Editor provides options to directly share edited photos to social media platforms or save them to your device’s gallery.
Can I access my edited photos across different devices?
Yes, Pixlr Photo Editor offers cloud storage and synchronization, allowing you to access your edited photos across multiple devices.
Is Pixlr Photo Editor suitable for beginners?
Yes, Pixlr Photo Editor is designed to be user-friendly and accessible for beginners, with a straightforward interface and helpful tutorials.